IDES Data Preparation
The International Data Exchange Service (IDES) is a secure managed file transfer service that allows financial institutions and tax authorities to securely send information on financial accounts held by U.S. taxpayers in accordance with the Foreign Account Tax Compliance Act (FATCA). Files transmitted via IDES must be encrypted and packaged in accordance with published data preparation instructions. The data preparation process is an important step to ensure that information transmitted via IDES conforms to U.S security standards to safeguard sensitive information.
The IDES Data Preparation.NET project repository demonstrates a sample working application built using Microsoft Visual Studio 2015 Community edition. The 2013 version of Visual Studio Community works as well. An application was also developed using Java, see IDES Data Preparation Java for more information.
The example explains how to use the code to develop an application that will create an IDES data packet and decrypt notifications. The project starts with a validated FATCA XML file. The application does not validate the XML or metadata schemas. The sample application will digitally sign, encrypt, compress, and archive the data packet into a compliant .ZIP format.
Please note that there are many open market tools that produce the same results; however, the IRS does not endorse any commercial products, including the frameworks used in the example.
Create a New Project
Figure 1
Open Visual Studio, select New Project.
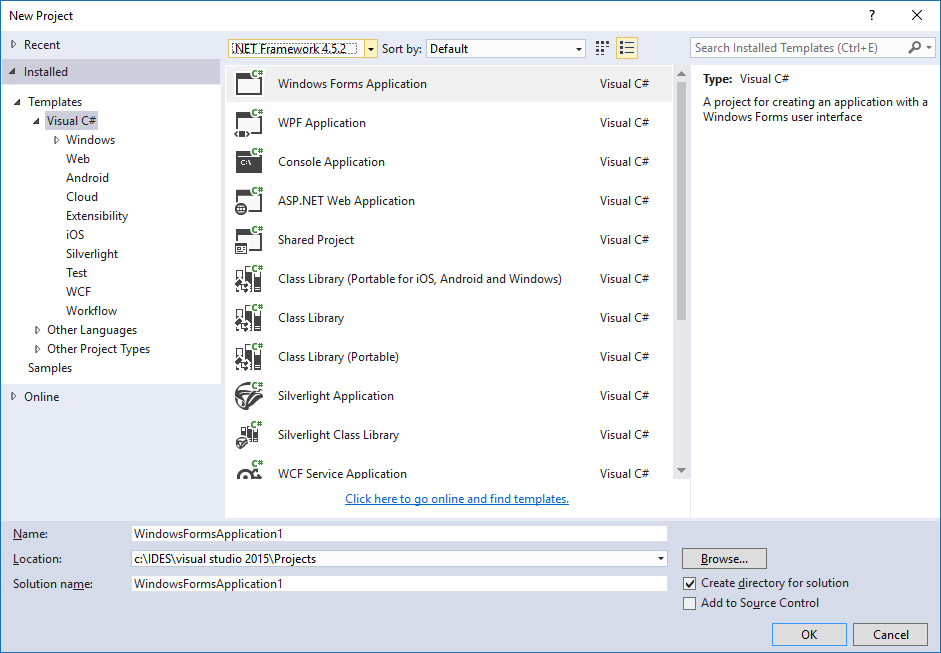
Figure 2
Under New Project, select the settings Visual C#, Windows Desktop and Windows Forms Application. Verify the settings, name and location. Click OK to continue.
Download Zip Code
From this walkthrough, download the .zip file by clicking on the zip folder icon in the upper right of the screen.
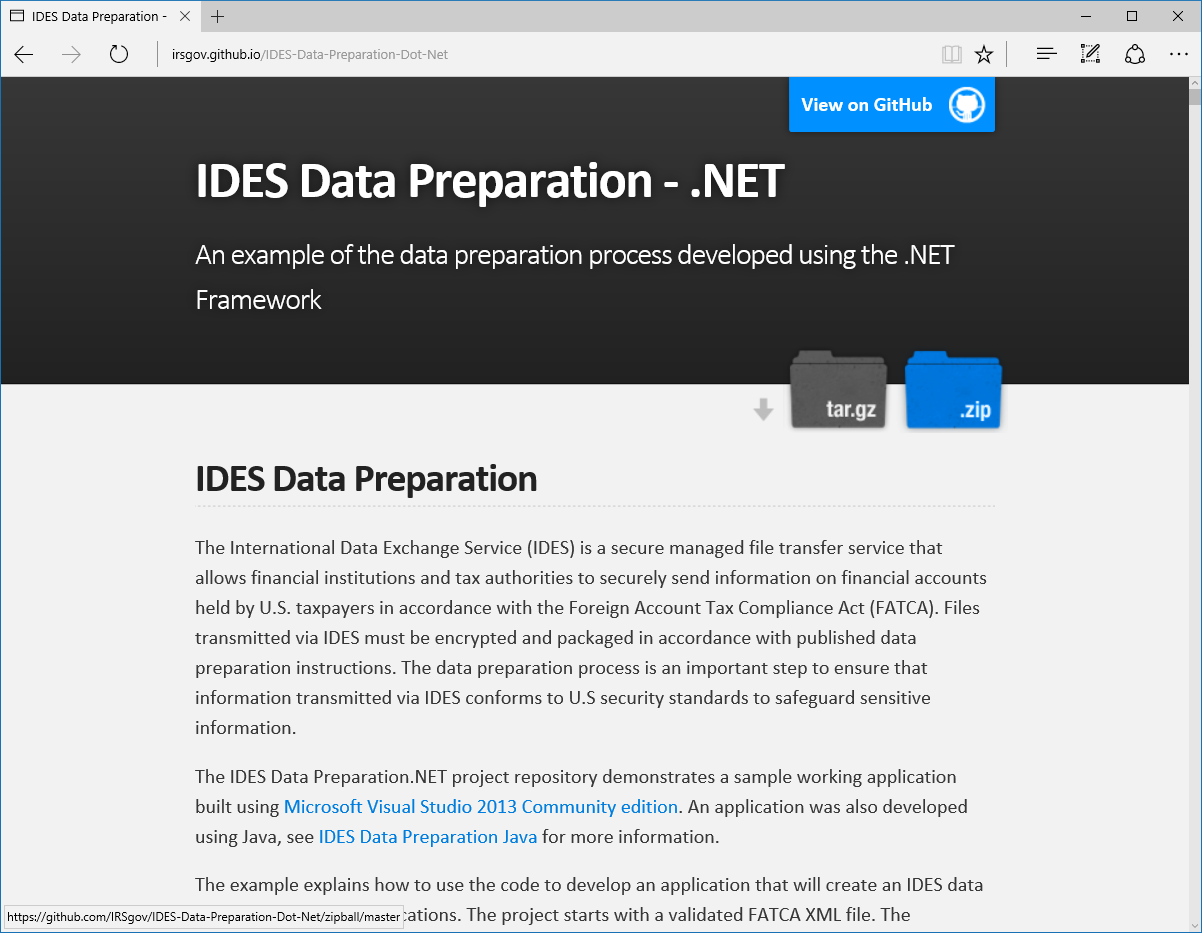
Figure 3
Extract Zip Contents
The contents of the zip file should be extracted. From the extracted contents, copy the highlighted files and folders below. You will copy these into the new project you just created. You need the Helpers folder, the Form1.cs, Form1.Designer.cs, Form1.resx, and Program.cs files.
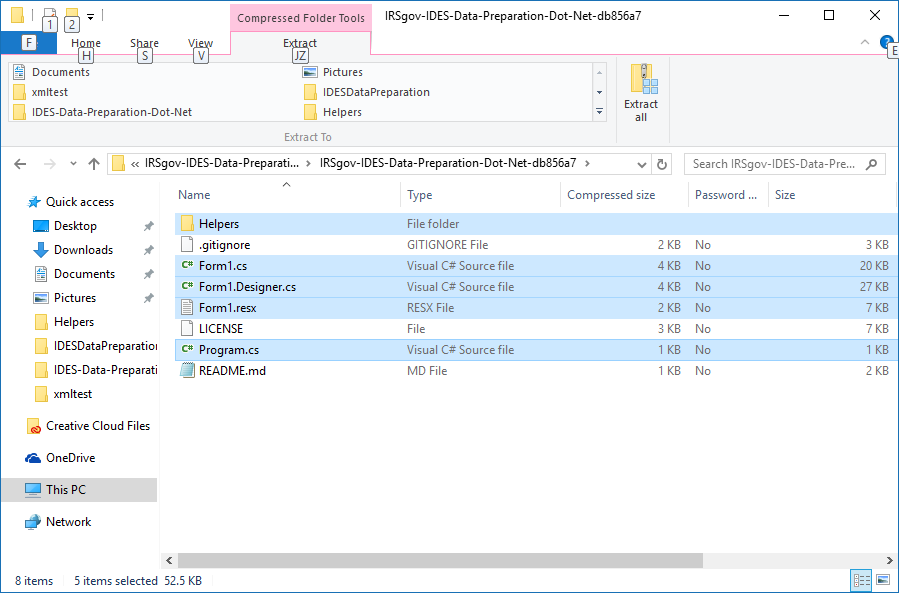
Figure 4
Open a folder containing the newly created application on your file system. It should look similar to this and have these files. The highlighted files from the .zip extract above should be copied into your application folder.
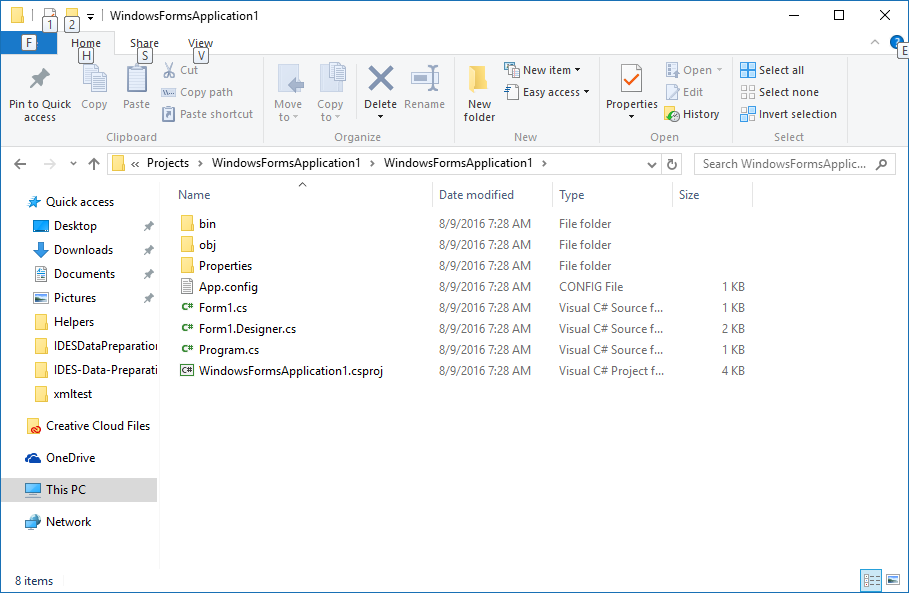
Figure 5
With the extracted zip files copied into your application folder, it should look similar to this.

Figure 6
When you go back into Visual Studio, you will be prompted to update the solution. Select Yes to All to refresh the solution with the new files.
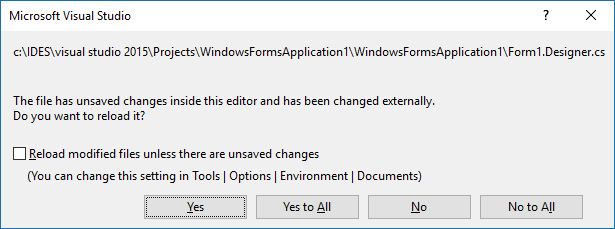
Figure 7
The updated solution will look like the screen below.
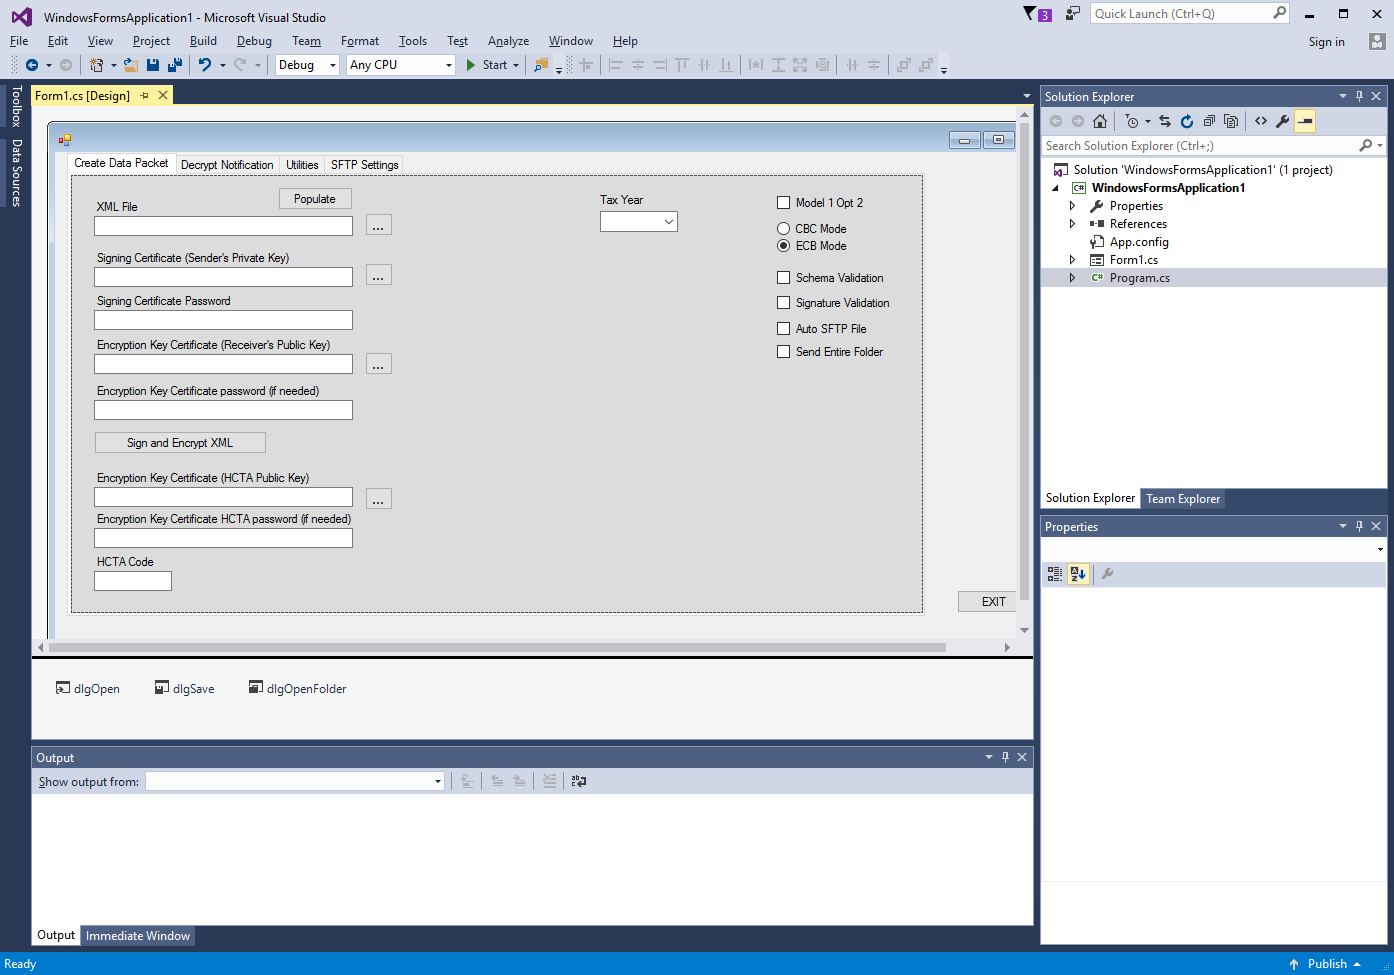
Figure 8
Importing Class Files
In Solution Explorer, add a new folder named Helpers that will contain class files or modules for different phases of the application.
Right click the Project name in the Solution Explorer and select Add --> New Folder. This folder will be named Helpers.
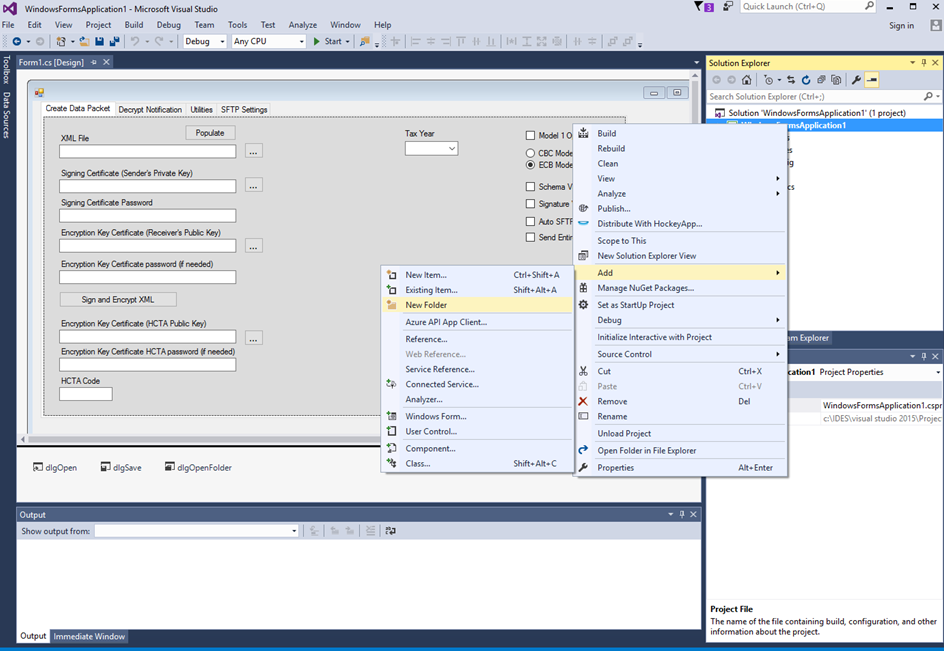
Figure 9
This shows the newly created Helpers folder.
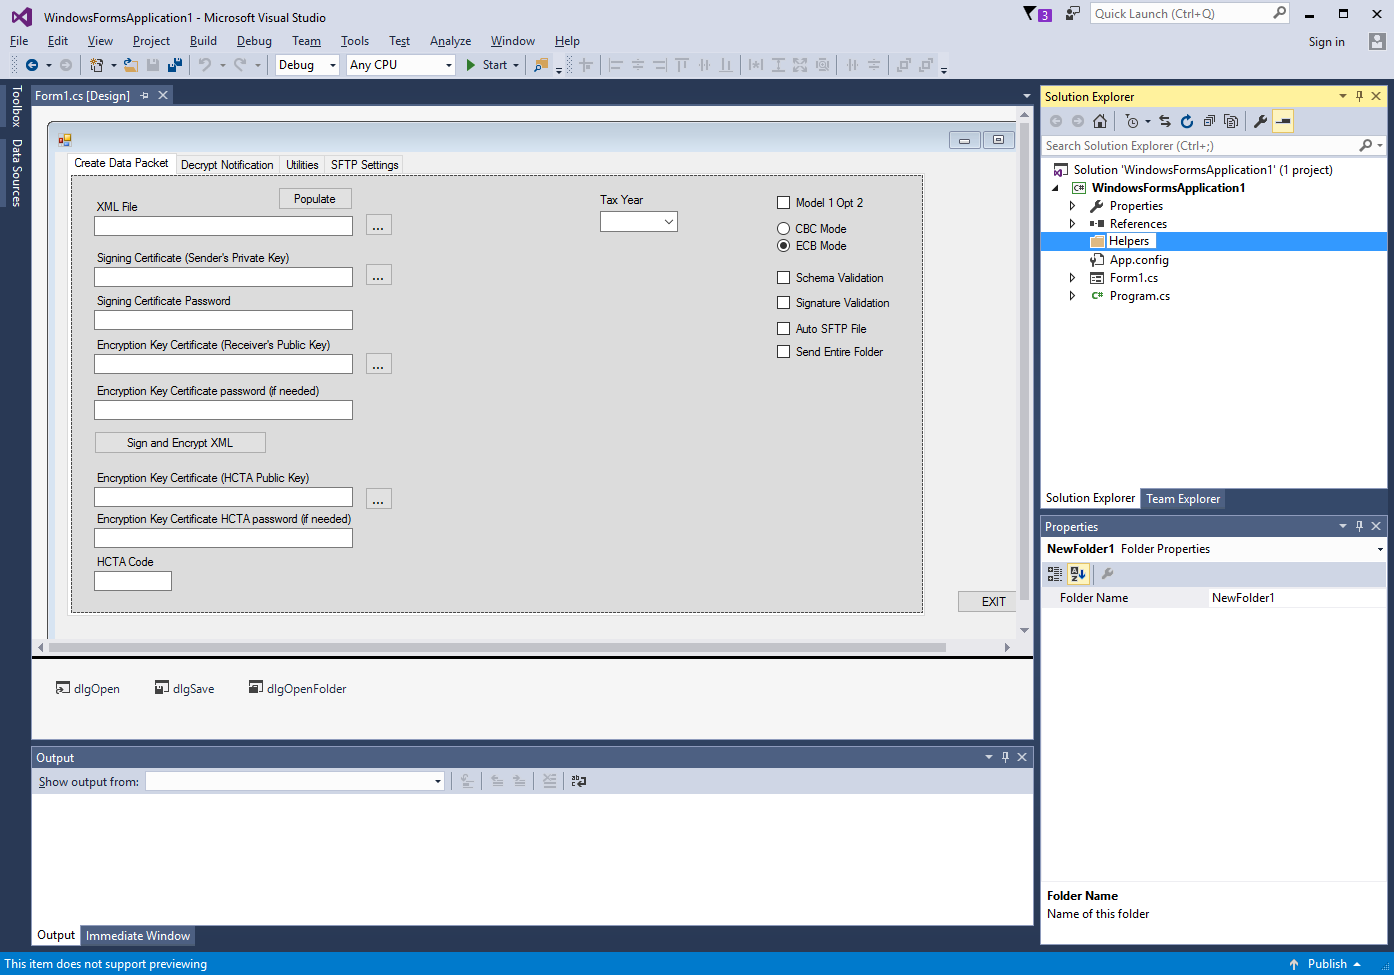
Figure 10
Add the class files from the Helpers folder into the application. You will need to right click the new Helpers folder and select Add --> Existing Item
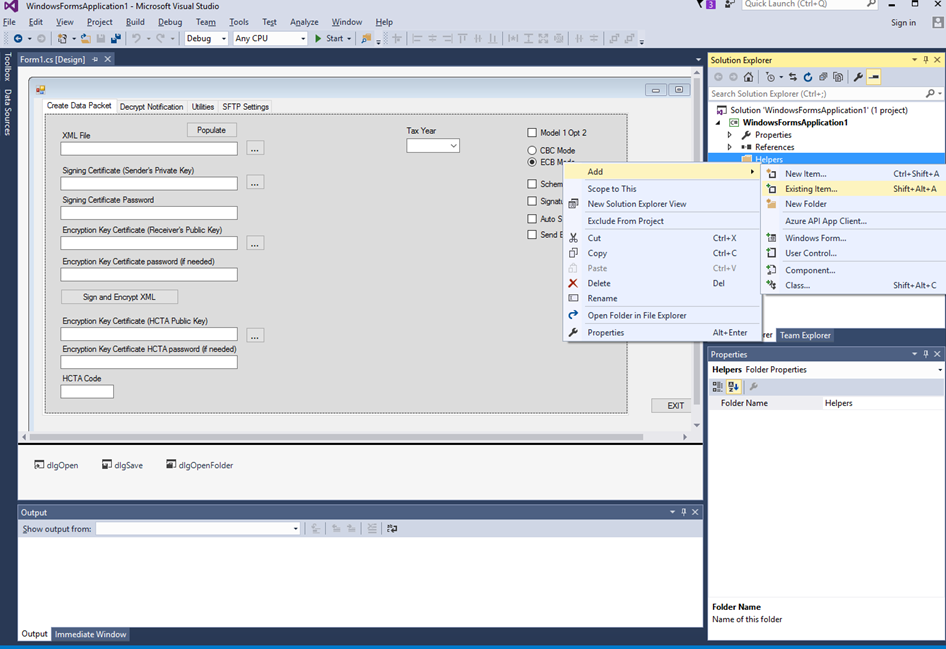
Figure 11
Select all 6 of the files in the Helpers folder that is in your new project. You should have all 6 below selected and this will import these into the application.
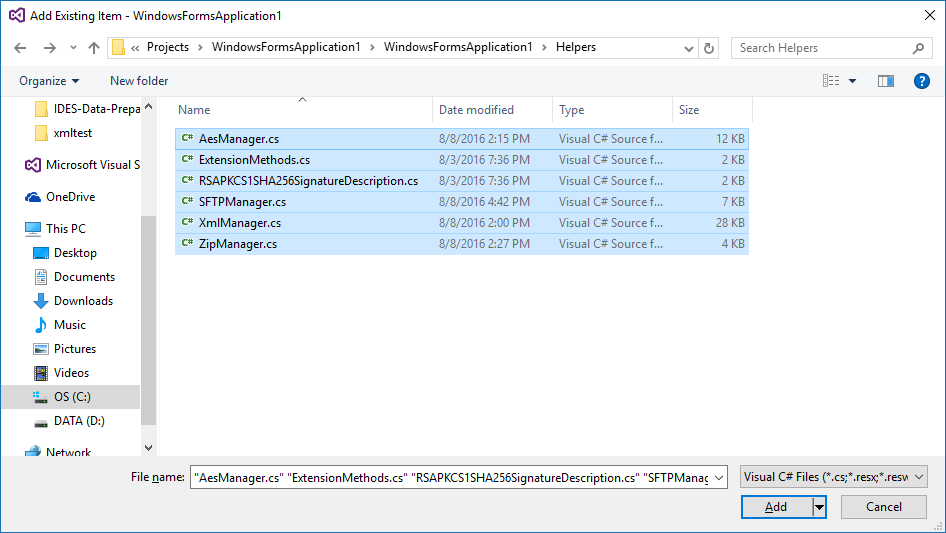
Figure 12
You should now have a Helpers folder in your project and be able to see the 6 class files within it.
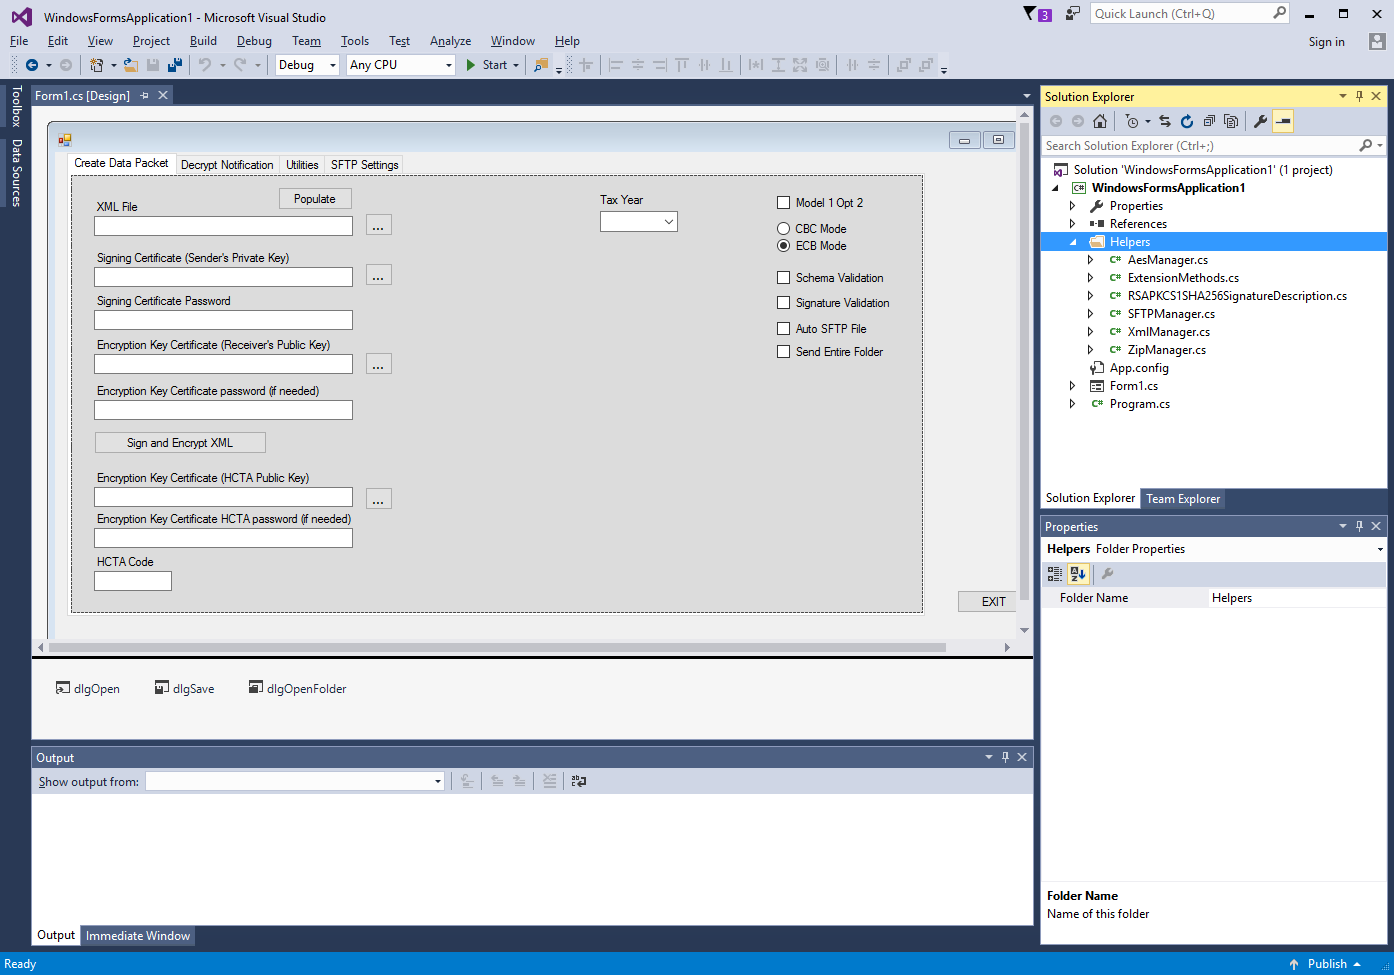
Figure 13
Adding References
Under the Project menu, select the Add Reference option. This will pull up a screen of all references that can be added.
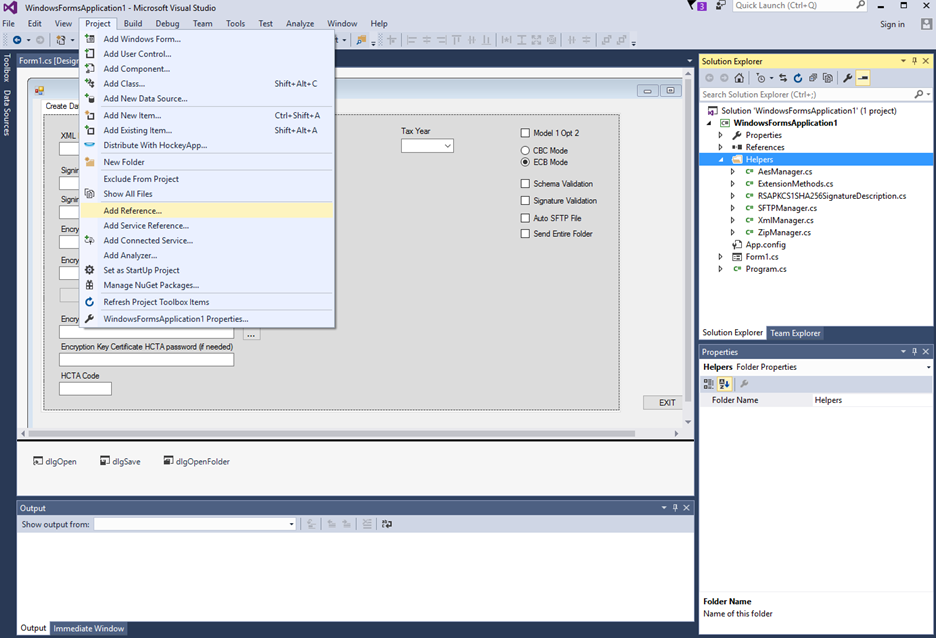
Figure 13
Next, you will add a reference to the each of the following:
- System.IO.Compression
- System.IO.Compression.FileSystem
- System.Security
- WindowsBase
- System.Drawing (may already be selected in Visual Studio 2015)
Select the checkbox next to each entry and click OK.
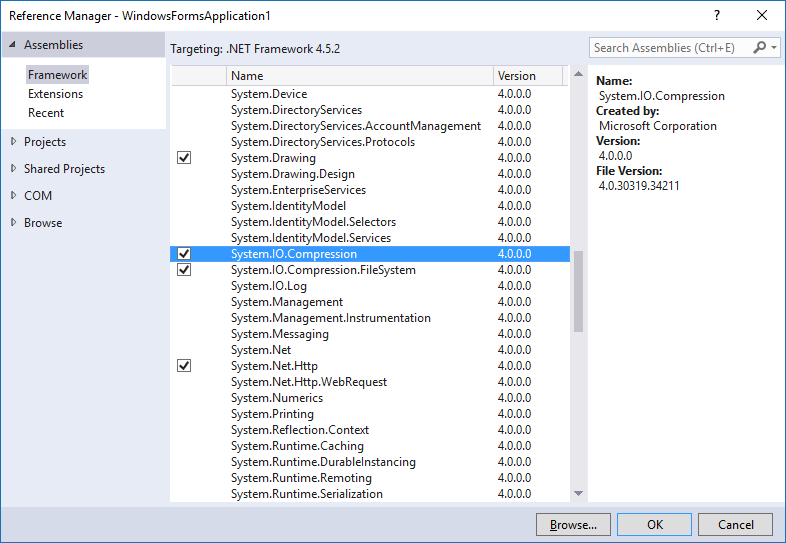
Figure 14
Add WinSCP
From the Tools menu, select the NuGet Package Manager --> Package Manager Console. This may show as the Library Package Manager instead of the NuGet Package Manager in Visual Studio 2013.
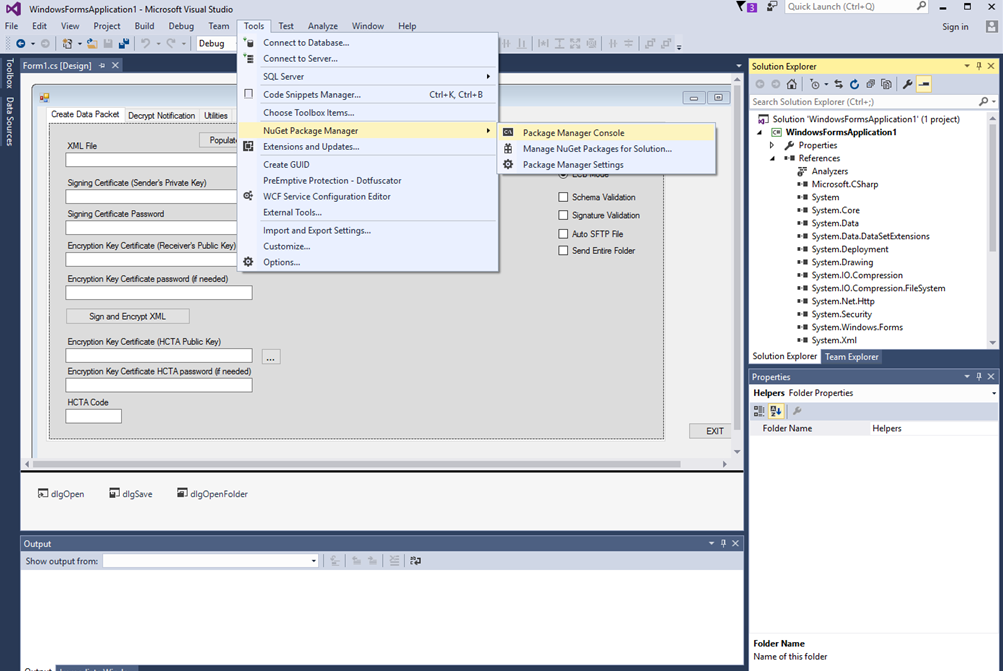
Figure 15
This will open the Package Manager Console shown below.
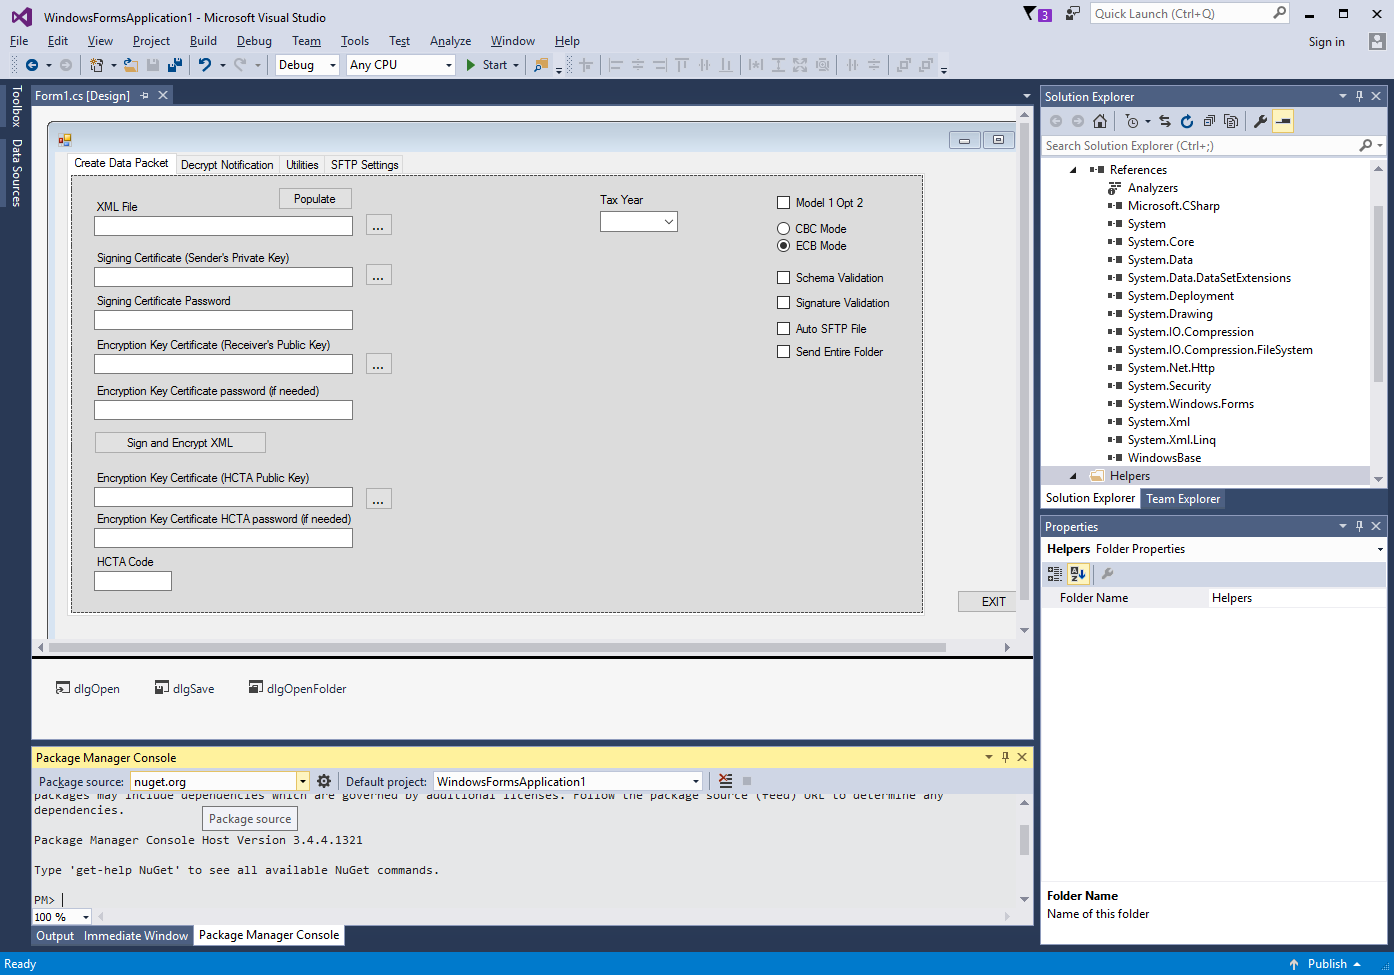
Figure 16
Type “Install-Package WinSCP” in the Console and hit enter.

Figure 17
This will install the WinSCP package. A sucessful installation message should be seen in the Console.

Figure 18
Running Application
Clicking the start button should now give you the completed application.
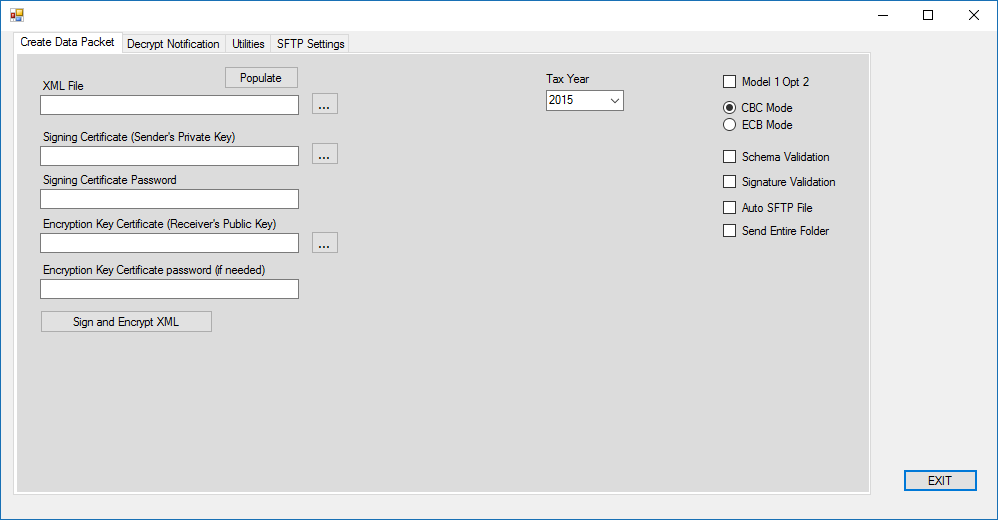
Figure 19
Create a Transmission File
To create a transmission file for IDES, you are required to have (1) an .xml file, (2) a private key that will be used to sign the xml, and (3) the public key of the receiver. The file names are case sensitive and any variation in name, extension or format will cause a transmission failure. There are no file extensions, unless otherwise noted. For more information, review the IDES User Guide.
- Select the Create Data Packet tab
- Select the .xml file. The file should be correctly named to create the correct sender metadata file. For example, Canada (ISO Code = 124) requires a file to be named 000000.00000.TA.124.xml.
- Select the sender’s private key. The application uses a .p12 file that contains the private key. The key may be in a different format, such as a .pfx file.
- If there is a password on the key file above, enter it here.
- Select the receiver’s public key. This will be the IRS Public Key. This may be in a different format, such as a .cer, .pfx, or .p12 extension.
- If there is a password on the public key, enter it here.
- Select the Tax Year. This will be used in the metadata file.
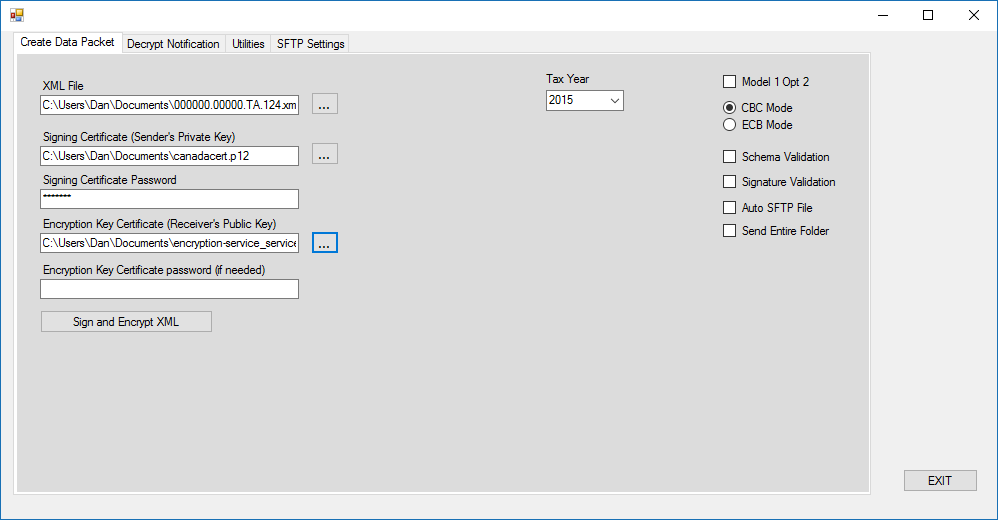 Figure 20
- Click the Sign and Encrypt XML button. If the files and keys are set up correctly, a success message dialog box will appear. Click OK to continue.
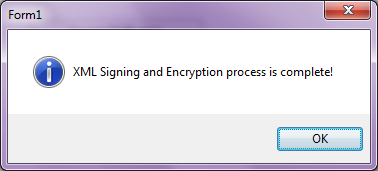
Figure 21
Creating a .ZIP File
The Sign and Encrypt XML button creates a .zip file that contains the key, payload, and sender metadata xml file. The zip filename should follow proper naming conventions and any variation in name, extension or format will cause a transmission failure. For example, the filename is 20150115T174443889Z_000000.00000.TA.124.zip. The contents of the sample .zip file are shown in Figure 12 below.
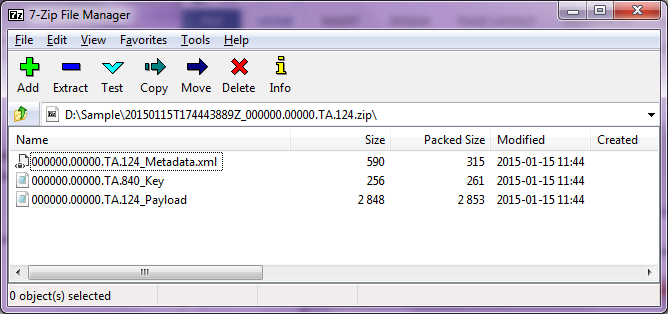
Figure 22
Next, you are ready to upload the transmission into IDES. For more information on using IDES, review the IDES User Guide.
Decrypting a Notification
The application can be used to decrypt system notifications received in IDES. To decrypt the notification, the receiver must use their private key.
- In IDES, download or save the notification to your hard drive. Select the downloaded .zip notification file.
- Select the Decrypt Notification tab.
- Select the private key of the receiver. The sample uses a .p12 format; however, the file can be modified for other formats.
- If there is a password on the private key, enter it here.
- The notification output folder controls the location of the decrypted output.
- Click the Decrypt Notification button.
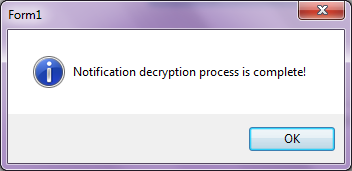
Figure 23
- If the correct key and password (optional) are used on the file, a success message dialog box will appear.
- In the Notification Output Folder field, the location of the decrypted and signed xml file that contains the contents of the notification are present. For example, the file name 000000.00000.TA.840_Payload.xml is used in this sample.
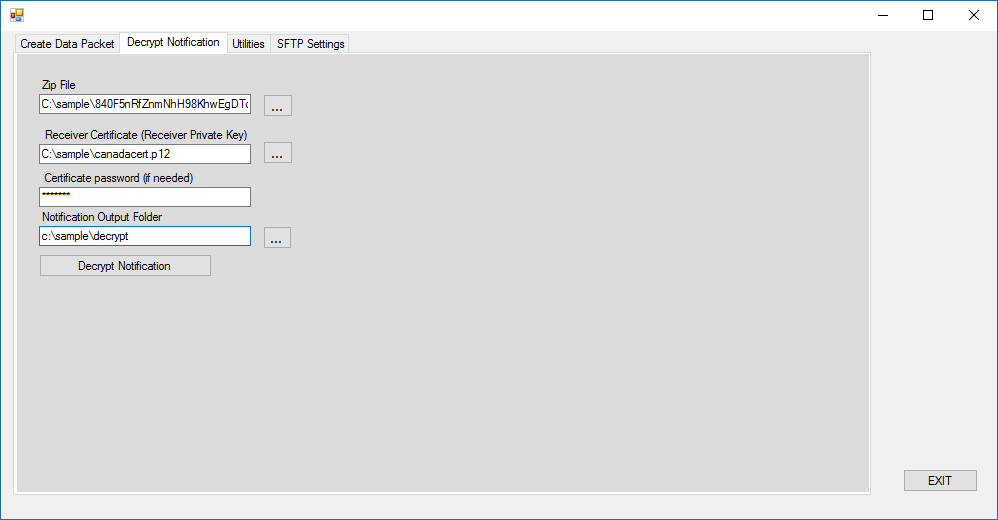 Figure 24
Additional Features
The repository includes additional documentation that explains how the new SFTP connectivity, schema validation, digital signature validation, and multi-file processing work.
Disclaimer:
We waive copyright and related rights in the work worldwide through the CC0 1.0 Universal public domain dedication. Unless expressly stated otherwise, the person who associated a work with this deed makes no warranties about the work, and disclaims liability for all uses of the work, to the fullest extent permitted by applicable law. When using or citing the work, you should not imply endorsement by the author or the affirmer.